Photos arrive here automatically from the Capture tab, and manually from the Clean Up tab when you move or copy Camera Roll photos. Each capture intent files photos to its default folder. Browse, filter, search, and act on everything you've captured.
Smart Folders
Quick access to recent captures across all folders.
All Folders
Photos auto-file based on capture intent. Move photos between folders anytime.
Folder List Views
Several folders offer a specialized list view alongside the standard photo grid. Toggle between grid and list with a toolbar button.
Contacts — Alphabetical Directory
Browse captured business cards as an alphabetical list showing name and company. Find the right contact without scrolling through thumbnails.
Receipts — Expense List
See vendor, amount, and date for every receipt at a glance. Quickly scan recent purchases or find a specific transaction.
Identify (What is it?) — Triage List
Each identified item shows its triage level and estimated value. Prioritize what needs attention without opening individual photos.
Essentials (IDs & Docs) — Document List
View document type, key dates, and ID numbers for each reference item. Find the right insurance card or warranty in seconds.
Slides — Event-Grouped View
Slides are clustered by date and location into event groups, so a morning session and an afternoon session at the same conference appear as separate groups. Summarize any group with one tap.
Books — Shelf Catalog
Each book shows its cover (from Open Library when matched, otherwise the cropped spine) with a room badge. Room chips at the top filter the shelf to one room. See The Books Folder.
Tasks — Checklist View
View tasks as a checklist. Tap to mark as processed and archive completed items directly from the list.
Filters
Narrow any folder by time period, location, or both. Tap the filter icon in any folder's toolbar.
Time Period
Filter to Today, Yesterday, Last Week, or Last Month. See only what's recent and relevant.
Location
Filter by town or city where photos were captured. Includes a "No Location" option for photos without GPS data.
Search
Find any photo across all folders instantly.
Search finds everything
Search matches across notes, OCR text, AI analysis, barcodes, auto-tags, and folder names. Type "receipt" to find all receipts. Type a vendor name to find that specific one.
Search works on filtered results too — apply a filter first, then search within it.
The Essentials Folder (IDs & Docs)
Your important documents, always at your fingertips.
Essentials Wallet
The top of the Essentials folder shows labeled slots for the documents you carry everywhere: Driver's License, Health Insurance Card, and Passport. Empty slots show a dashed placeholder inviting you to fill them. Filled slots show a thumbnail you can tap to view the full document.
Assign multiple people — keep your family's IDs organized in one place. Each document type supports front and back sides.
Auto-Detection
When you first open Essentials after updating, the app scans your existing photos for driver's licenses, passports, and insurance cards using on-device OCR text. It suggests which slot each document belongs to — just confirm with a tap.
Pin from Anywhere
Open any Essentials photo's detail view and tap Pin as Essential to assign it to a wallet slot. Unpin anytime to return it to the regular grid. The wallet section is collapsible if you prefer to see only the photo grid.
The Contacts Folder
Your business cards, organized like an address book.
Contact List View
Toggle between the photo grid and an alphabetical contact list using the toolbar button. The list view shows each contact's name, company, and thumbnail — grouped by first letter with section headers, just like the iOS Contacts app.
Names are extracted automatically from AI analysis, card titles, or OCR text. No extra AI credits needed.
Search and Filter
Search works in list view too — type a name, company, or city to narrow results instantly. Combine with time and location filters for precise lookups like "contacts from last week in Boston."
The Calories Folder
Daily totals, per-photo overlays, a 7-day strip, and your calorie balance. The calorie tracking guide covers the whole loop from capture to calories burned.
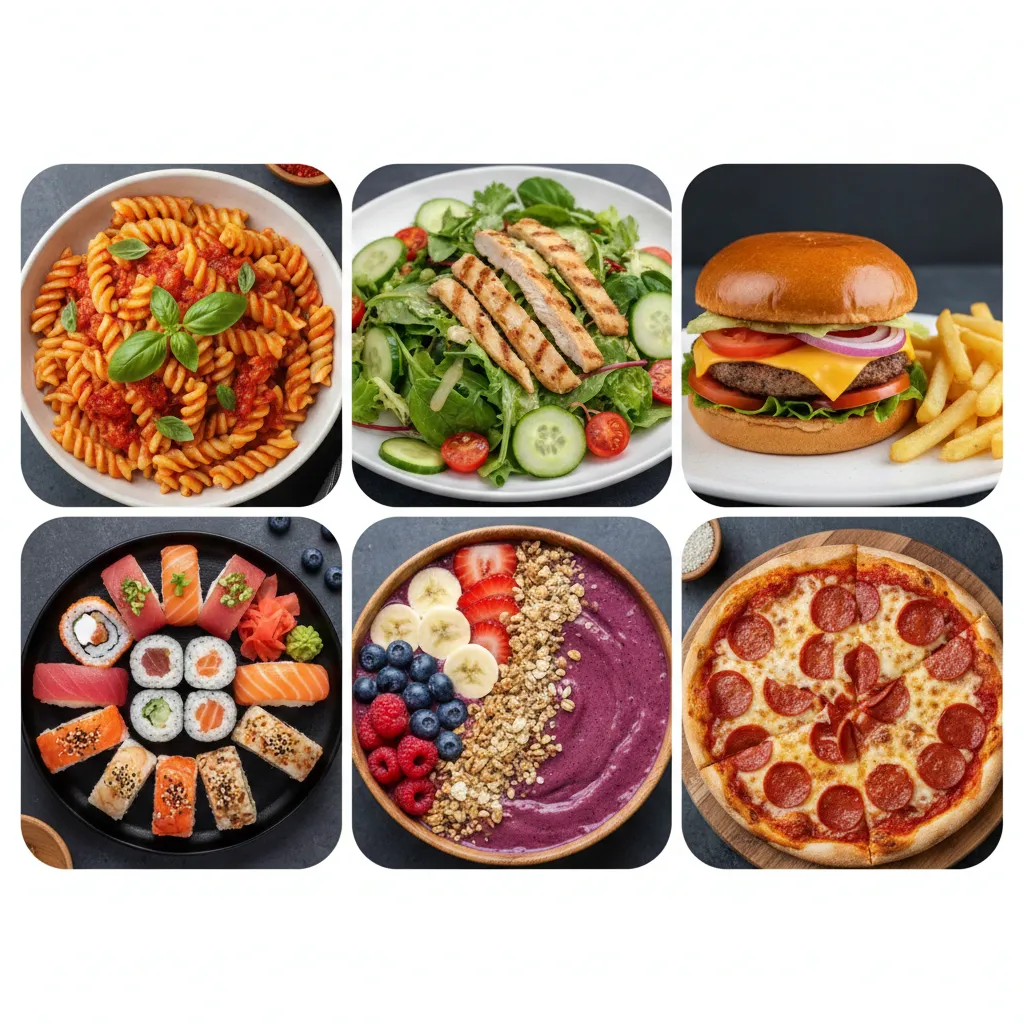
Example photos are AI-generated
Daily nutrition banner
A banner at the top of the Calories folder shows your total calories, carbs, and protein for today, updated as you capture meals, with a Yesterday line underneath for comparison (tap it to filter the folder to yesterday). With a calories-burned source enabled in Settings (WHOOP or Apple Health), the banner adds "N burned" and "N under" or "N over" for Today, and the Yesterday line carries its own under or over.
7-day strip and Nutrition page
Three small sparklines under the totals show the last week of calories, carbs, and protein. Tap them to open the Nutrition page: Today and Yesterday at a glance, full-width trend charts over 7, 14, or 30 days, and the Food Log with every day's meals and totals (plus a burned row when a source is on).
Per-photo calorie overlay
Each food photo shows its estimated calories and carbs as a thumbnail overlay. Browse your meals at a glance without opening each one.
Capture with context
Tapping Calories on the Capture tab offers Snap, Describe (a note such as "leftover chili, second helping"), or Has / Not (ingredient pills you configure under Settings, Ingredient Quick-Select). Notes and pills go to the analyzer alongside the photo for noticeably more accurate estimates.
My Foods
Save any analyzed meal, then log it again in one tap, with a photo or without one (a placeholder card is generated). No AI credit either way. My Foods suggests meals from your history: repeated meals first, or your most recent meals if nothing has repeated yet.
Follow-up chat refines the estimate
Got the portion wrong? Reply in the follow-up chat with a correction ("this was actually 12 oz, not 8") and the analyzer re-runs and updates the main calorie, carb, and protein estimates in place. Conversation history is preserved so the AI keeps your context across multiple corrections. All three values are also editable by hand in the photo detail view.
The Slides Folder
The Slides folder has event grouping, batch summarization, and export features.
Summarize Slides
Captured an entire presentation? Tap the sparkles button in the toolbar to summarize every slide in the folder. AI reads the OCR text from each slide and produces a structured summary with:
- Event Summary — 2-3 sentence overview of the presentation
- Key Topics Covered — organized by logical flow
- Key Takeaways — the important points distilled
- Action Items / Follow-ups — what to do next
- Notable Details — data points, statistics, names, references
You can also summarize just the slides from a single day using the sparkles button on any date header, or select specific slides and summarize only those.
Summary Options: Quick or Deep
Before summarizing, choose how to read the deck:
- Quick summarizes from the on-device OCR text of each slide.
- Deep sends the slide images to Claude in batches of 15 so charts, tables, and diagrams that OCR can't read are interpreted too.
- Brief or Comprehensive sets the level of detail for either mode.
- Include same-day audio folds that day's transcribed recordings into the same summary. Recordings are labelled as such in the output.
A selection that is only recordings summarizes in Quick mode, since there are no images to interpret.
Batch Processing
The summarizer adapts to deck size:
- Up to 30 slides — single AI pass, one credit
- 31-50 slides — single pass with a confirmation prompt
- 50+ slides — automatically split into batches of ~25, each batch summarized separately, then a final synthesis pass merges everything into one unified summary
One AI credit per batch. Progress updates show which batch is being processed.
Summary Output
The finished summary is saved as an image card in your Slides folder, backdated to appear at the top of the relevant date group. The full summary text is stored in the photo's notes — tap the card to read it. You can also copy the summary to your clipboard or share it via the standard share sheet.
Export OCR Text
Copy all extracted text from every slide to your clipboard in one tap. Paste into your notes app, email, or document for reference — no AI credit needed.
Zoom Memory
The camera remembers your zoom level for Slide captures. Set it once for the projector distance and every subsequent slide photo uses the same framing — no re-adjusting between shots.
Event Groups
Toggle the toolbar button to switch from the chronological grid to an event-grouped view. Slides are automatically clustered into conferences and events based on when they were captured — a gap of more than 48 hours starts a new event.
Each event shows its name (detected from slide text), date range, location, and slide count. Tap to drill into that event's slides, where Summarize and Export OCR work on just that event.
Smart Event Labels
The app recognizes conference names from your slide text — PDA Week, Bioprocessing Summit, MIT programs, and more. When it can't find a conference name, it falls back to the city and date (e.g., "Barcelona, Mar 2026"). No AI credits needed — event detection uses on-device OCR text you already have.
The Audio folder summarizes the same way
Recordings made with the Record toggle land in the Audio folder with their on-device transcripts. Each date section has its own Summarize button, produces the same summary cover card, and batches long days with a synthesis pass, exactly like Slides.
The Books Folder
A catalog of your shelves, one entry per book, organized by the room it lives in.
One shelf photo, many books
Capture a shelf with the Books intent and AI reads each spine: title, author, series and volume, publisher, year, ISBN, format, genre, and language. A review screen overlays a box on every spine it found; pick the ones to keep and each is saved as its own cropped entry, with the original shelf photo kept alongside and marked as the source.
Open Library enrichment
After the spine is read, Unmuck looks the book up on Open Library (a free public catalog, no AI credit) and fills in what the spine couldn't: cover image, first-publish year, and subjects. ISBN matches are exact; otherwise title and author are matched with a confidence gate so a wrong edition isn't attached. Enrichment never overwrites what AI or you entered. The detail view shows the cover, subjects, and "matched as", with Re-match and Clear.
Already have a shelf of books captured before this existed? Tap Match from Open Library in the Books folder to backfill them all, with progress and a summary. It resumes where it left off.
Rooms
Every book can be assigned to a room. A room picker appears at capture time for the whole shelf (defaulting to the last room you used), in the batch review sheet, and in each book's detail view. Rooms come from one managed list so "Study" and "study" don't become two rooms. The Books folder shows a room badge on each cell and room chips to filter the shelf to one room; Select All respects the active room.
Essentials Wallet
Pin your most important documents for instant access. Available in the Essentials folder.
Quick-Access Slots
Pin your IDs, insurance cards, and other essential documents to dedicated slots at the top of the Essentials folder. No scrolling, no searching — your essentials are always one tap away.
Capture Directly Into Essentials
Take a photo of a new ID or card without leaving the Essentials folder. It goes straight into your essentials.
Auto-Scan Suggestions
On first use, the app scans your existing Essentials photos and suggests documents to pin — driver's licenses, insurance cards, passports, and more. Organized by category with per-person grouping for families.
Show Archived
Hide completed items without deleting
Mark any photo as "archived" to remove it from the default folder view. The photo stays in its folder — it's just hidden. Toggle "Show archived photos" at the top of any folder view to see archived items again, or unarchive them to bring them back.
Custom Folders
Create folders in the Files app
Open the Files app, navigate to iCloud Drive, and create a new folder inside the Unmuck directory. It appears automatically in the app. Custom folders work just like built-in ones — you can move photos into them and browse their contents.
Ready to Get Organized?
Requires iOS 18.0 or later.

Photo intelligence. Always on. Always private. Always yours.